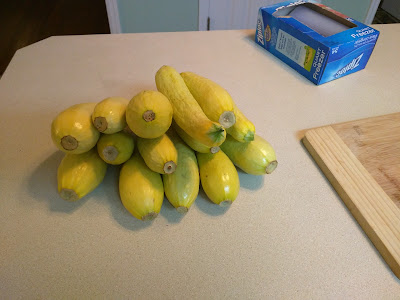
We are dealing with a good problem... too much squash! It didn't start out this way though. When I first started harvesting squash, the plants were growing small fruit and I found little pickleworms munching down on them. We hadn't used any pesticides so I started researching many organic ways in case the pickleworms turned out to be a serious problem. That's when the squash plants went into overdrive producing 2-4 healthy fruit daily. We started eating squash with every meal, inviting relatives over, and giving some away. Once our stash got up to around fourteen, I decided to try storing some by blanching and freezing so we can enjoy our home grown squash year round.
After some research, I decided to blanch the squash and freeze them in groups of 3-4 fruit, or roughly enough for a meal. Be sure to clean the squash and begin the process.
Step 1: Cut squash into 1/4 inch slices
One of my dad's custom knives (Brad Zinker)
Step 2: Boil sliced squash in a large pot for 3 minutes.
Step 3: Remove squash from boiling water and put into ice water immediately. This will drive down the temperature.
Keep adding ice to keep the water cold.
Step 4: Once the squash has cooled down, remove it from the ice water and package the squash in a freezer bag.
Date and label the bag.
I tried to get all the loose water and air out of the bags before sealing them and putting in the freezer. After boiling, the squash will become soft but the flavor will be kept.
This night I blanched 14 squash, which came out to four 1-quart sized freezer bags. Enough for 4 meals!


No comments:
Post a Comment